
Updated on Apr. 08, 2022
Position: Resource - Disk Utilities - How to Fix Scanning and Repairing Drive C?
DiskGenius - A free tool that can create bootable USB drive for you to recover lost data or manage disk partitions on crashed computers.
Typically, a sudden power failure or forced shutdown of the computer will interrupt working processes on the hard disk or memory, and some files will be deleted. To avoid these problems, Windows 10 automatically scans and fixes drive errors. If all goes well with the repair process, the system will boot up after a while. However, if the system is unable to handle errors that occur, the scanning and repair process may get stuck.
If the computer is still stuck in the scanning and repairing drive interface after a long wait, you can refer to the following to resolve the problem. If important data exists on the computer, you are advised to use DiskGenius to recover important data to avoid data loss.
First, create a bootable USB drive using DiskGenius
DiskGenius supports making bootable USB drives based on Windows PE so that you can recover lost data, manage disks, or back up data without booting the system.
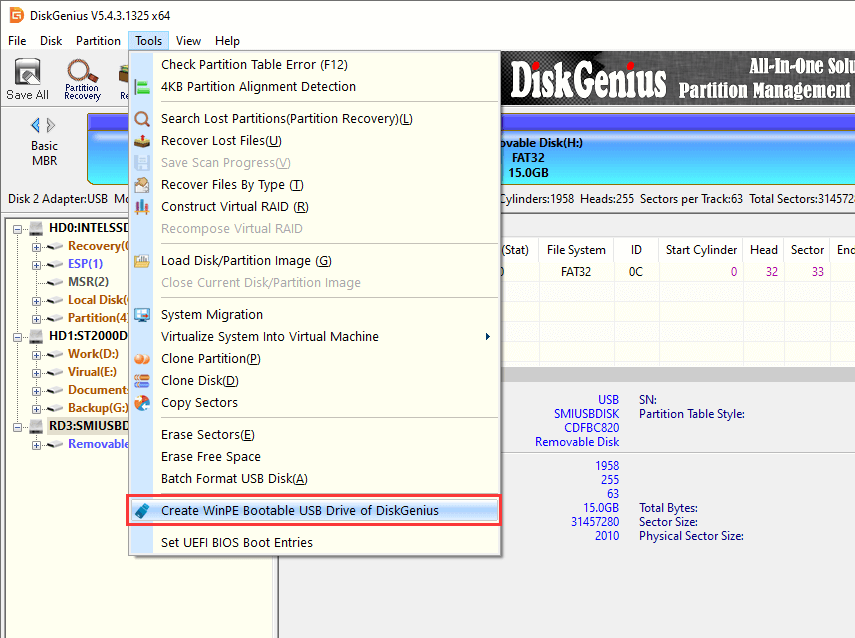
Step 1: Insert the USB drive and start DiskGenius. Click the Tools menu and select the Create WinPE Bootable USB Drive of DiskGenius option.
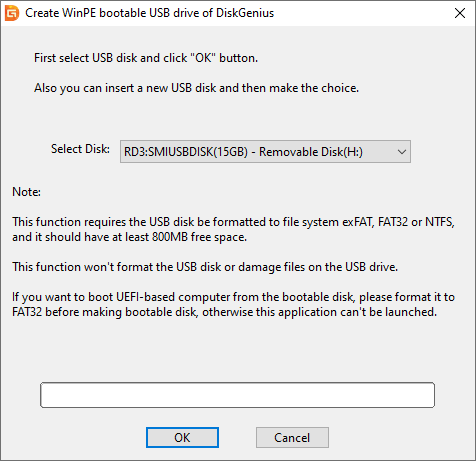
Step 2: Click OK in the window that is displayed. Wait a few seconds and a bootable disk will be created.
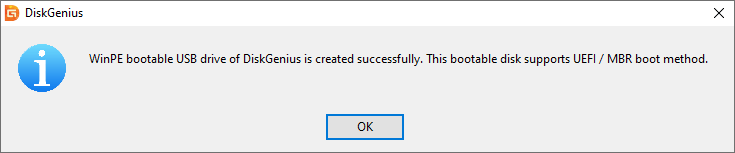
Step 3: After the bootable USB drive is successfully created, click OK.
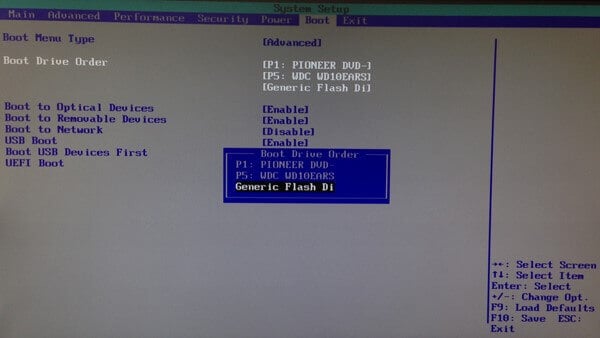
Change boot sequence in BIOS, making sure the USB drive is the boot device.
Then, use the created USB for data recovery:
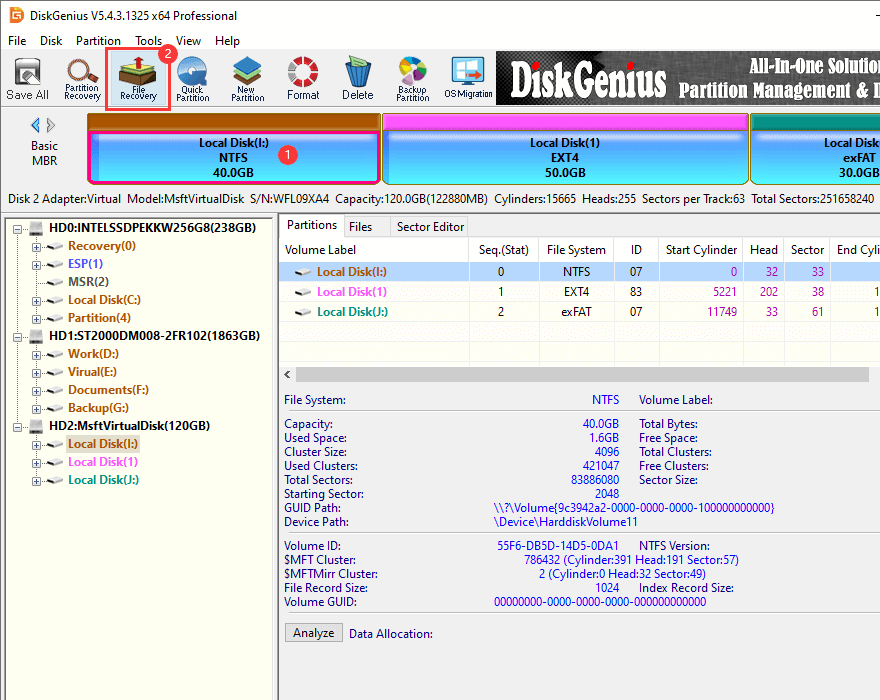
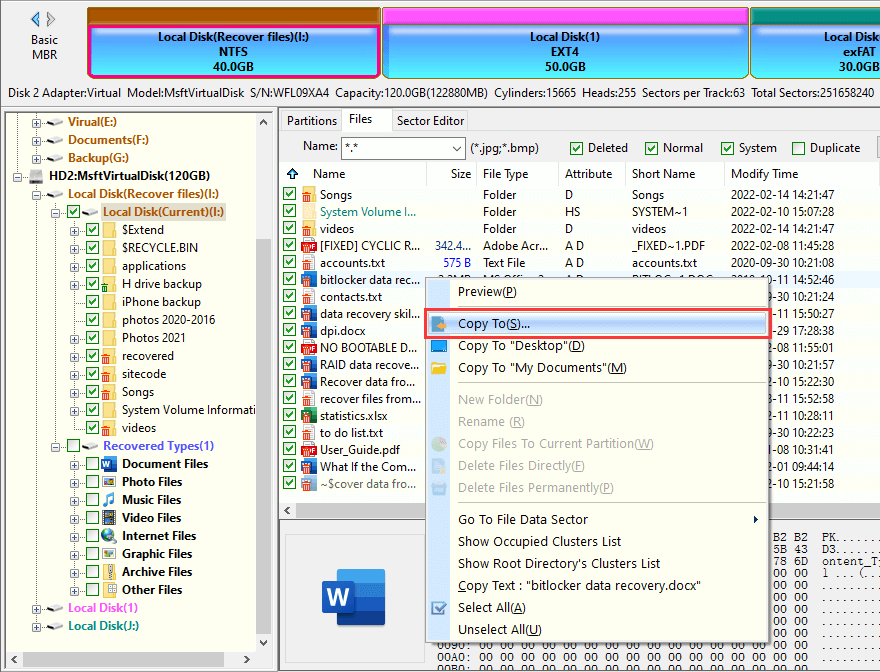
Step 1: Connect the created bootable USB drive to the computer, run DiskGenius under WinPE, select the partition for data recovery in the software, and click the File Recovery button above.
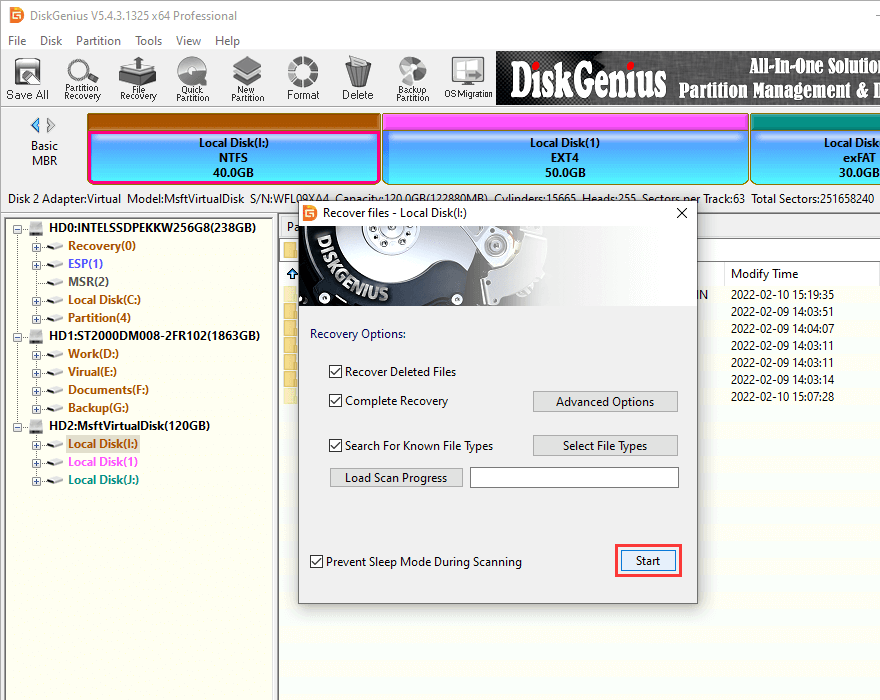
Step 2: Click Start and DiskGenius will start searching for data.
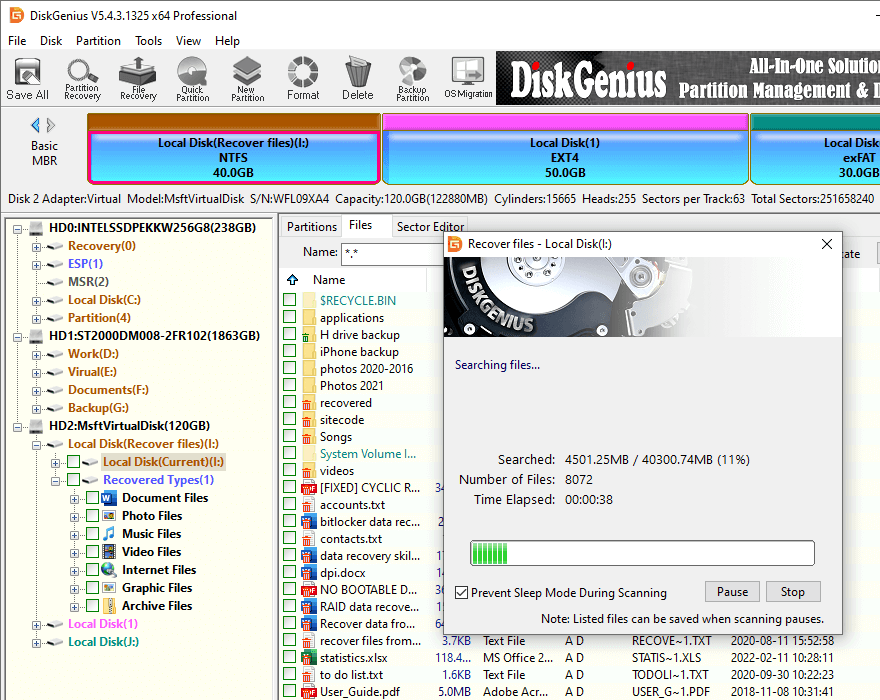
Step 3: After the scan, DiskGenius will list the files found. You can preview the file by clicking on it.
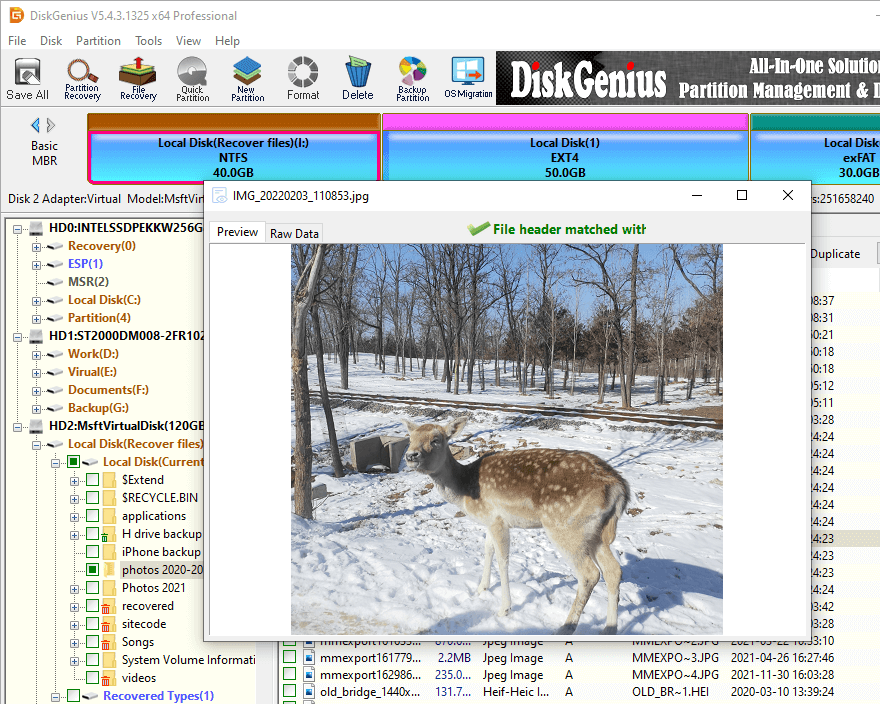
Step 4: Copy the data that needs to be recovered to a secure location, as shown below.
Method 1. Check the connection line of each port of the computer
If you have recently installed or replaced a hard disk device, you may have a "scanning and repairing drive" problem because of cable failure, so when this problem occurs, you may want to check that the cables and ports are properly connected.
Method 2. Wait for the scan and repair process to complete
Sometimes, the severity of a drive problem directly determines the time required to scan and repair the drive. Depending on the severity of the problem, the recovery time may take several minutes or hours. If there is nothing important or urgent, it is recommended to wait for a while.
Method 3. Set the drive as the boot disk
Step 1: Go to the BIOS and check the Boot Sequence of your hard drives in the Boot section.
If your boot hard disk (SSD/HDD) is not at the top, make it a priority (rather than Windows boot Manager, USB HDD, or DVD ROM).
Step 2: Save and exit the BIOS.
Step 3: Restart.
Method 4. Try to start the computer in safe mode
Step 1: Press and hold the power button for five seconds or until the computer is turned off.
Step 2: Press the power button again to power on the computer.
Step 3: The computer displays a message indicating that Windows cannot start or related information.
Step 4: Choose Options > Troubleshooting > Advanced Options > Boot Settings.
Step 5: Select safe mode.
Step 6: Log in and restart.
Method 5. System Restore
Warning: This method may cause data loss. If you choose to use this method, be sure to scan your hard disk with data recovery software.
Step 1: Proceed to "Troubleshooting" in the same way as in Method 4.
Step 2: Choose Advanced Settings > System Restore.
Step 3: Select the date/time before the problem occurred.
Step 4: Click Next.
Step 5: Click Complete.
Step 6: Restart.
When you encounter the error "scanning and repairing drive C", it is recommended that you backup or restore data first. There is a high risk that data will be lost in the process of fixing the problem. To avoid any loss, follow the five methods provided above after confirming that there is no problem with the data. If you have any questions, please feel free to contact our technical staff and customer service staff.
DiskGenius - The best free disk partition software to extend or format C drive, rebuild MBR, check and repair bad sectors, migrate Windows 11/10 OS to SSD.
DiskGenius is a one-stop solution to recover lost data, manage partitions, and back up data in Windows.
Download Facebook
 YouTube
 X
X