DiskGenius facilities the feature of saving scanning result of the recovery process so that you can resume previous recovery without scanning from the beginning. In general, this program saves scanning progress automatically to the folder where it is located. Besides, you can export the scanning result as a .dgrp file to a specified location and import the file when you restart the recovery.
Step 1. Click Tools menu and select Save Scan Progress option when scanning gets finishes or stopped.
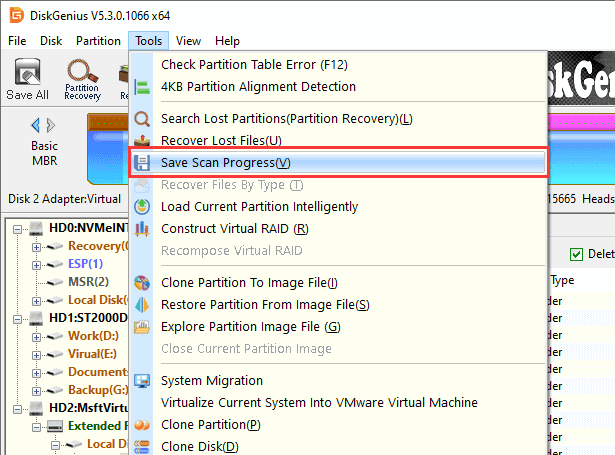
Step 2. Name the progress file and set a location to save it. Please note that the file must not be saved to the drive which needs recovering data.

Step 1. Select the partition for which you have saved scan status and click File Recovery button to open the recovery window.
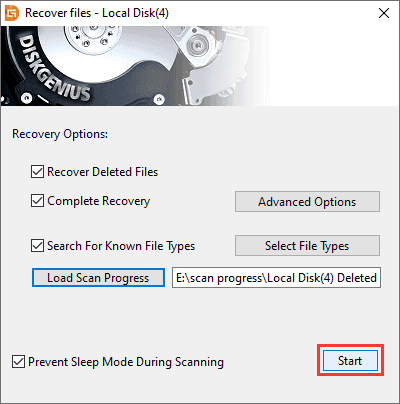
Step 2. Click the Load Scan Progress button.

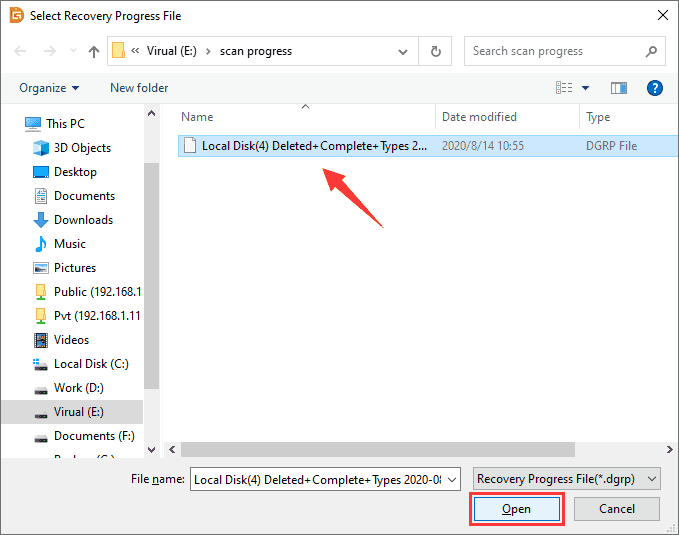
Step 3. Select the file that records the previous scanning progress and click Open.
Step 4. Click Start button and the program will continue previous recovery.


 Facebook
 YouTube
 X
X