Position: How Tos - Disk Utilities - Fix "The Format Did Not Complete Successfully" Without Losing Data
DiskGenius - Free disk partition manager to format partition, clone HDD to SSD, check bad sectors, etc.
ô Free DownloadQuick navigation:
"My problem is: I have a 128GB SSD installed on laptop and Windows 10 is installed on this disk. The laptop won't boot now, and I though it is the failure of system. Thus I try to make a clean reinstallation of OS, and yet I cannot partition or format the disk with the installation CD! Now I connected the SSD to a desktop and tried to format it in Windows, but the formatting does not complete either! Does anyone know how to format the SSD disk and install Windows 10?"
Disk Management is one of the useful tools built in Windows system, and it can be used to manage disks and partitions, such as delete partition, create new partition, format partition, resize partition, etc. Sometimes, Disk Management cannot work as expected, for example, some drive cannot be formatted. Such error usually happens when you are attempting to format corrupted USB flash drive, SSD, memory card or external hard drive. If you format these drive in File Explorer you will get a similar error "Windows was unable to complete the format". Many reasons can lead to the error, for example, virus/malware, bad sectors, corrupted file system, etc. Thus solutions will vary from one to another. In the following part, you can find multiple solutions to this error.
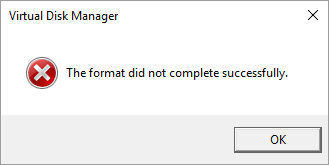
If you receive the error message "format did not complete successfully" when trying to format external hard disk, memory card, USB flash drive or other storage device in Disk Management, you can follow tutorials below to fix the issue. This part covers a couple of quick and easy-to-apply solution to remove the error, and yet that does not mean you have to try all of them one after another. Users get this unable to format error due to various reasons, and thus the solution that works on others may not work on your case. Hence, you can just select the solution in line with your actuation situation. Here are some tips you may want to take a quick look at before proceeding with these solutions.
USB drives are more likely to infect virus or malware, for they might be used on computers that are not protected by anti-virus software. Once your USB drive contains a virus, there is possibility virus corrupts partition file system, prevents disk from normal read-write actions, remove or encrypt data, etc.
In this case, you can run an anti-virus software to check if there is any virus on the drive. Some third-party anti-virus software can automatically scan the drive after it is inserted to computer. If your computer does not have third-party anti-virus software, you can use Windows 10 built-in tool Windows Defender which can also give a good real-time protection. How to enable Windows Defender in Windows 10?
1. Click Start menu and select Settings > Update & Security > Windows Security > Virus & threat protection.
2. Select Manage settings under Virus & threat protection settings, and then turn on the Real-time Protection.
DiskPart commands are executed in Command Prompt and they can help users to manage computer disks, partitions, volumes and virtual hard drives. If you are not familiar with DiskPart commands, we advise you to proceed with caution or move to other solutions.
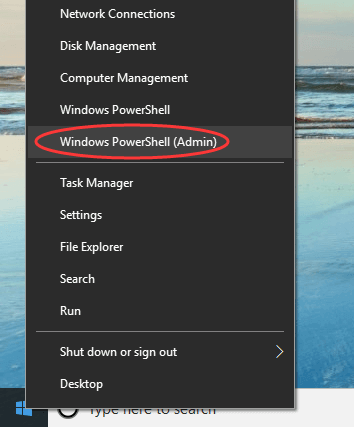
Step 1. Click Start menu and choose Windows PowerShell (Admin), as follows.
PowerShell can be regarded as the updated shell to replace Command Prompt. If you want to use Command Prompt, you can easily find it by entering cmd in the searching box.
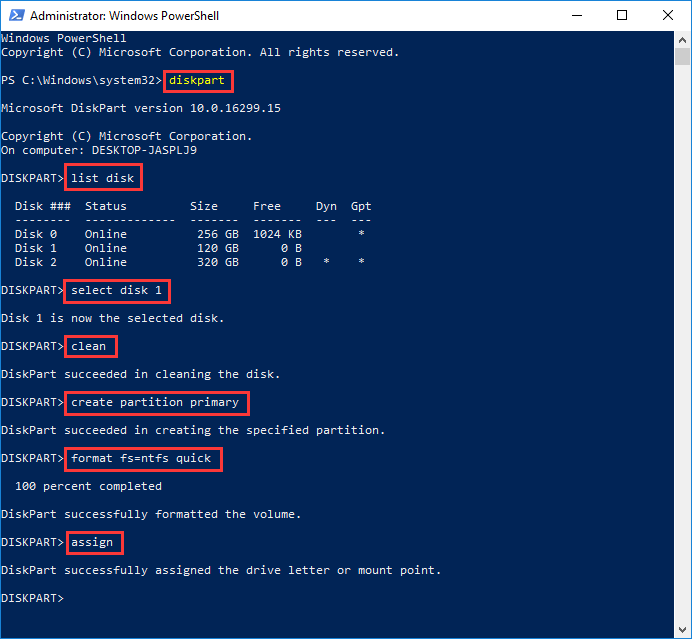
Step 2. Type diskpart and press Enter key. The type following commands and press Enter after each command.
list disk (this command lists all disks connected to the computer)
select disk # (replace # with correct disk number, for example, you want to format disk 2, then replace # with 2)
clean (this command will clean up the selected disk, including all existing partitions)
create partition primary (create a new partition on the selected disk)
format fs=NTFS quick (format the newly created partition to NTFS file system, if you want to format drive to FAT32, then input format fs=FAT32 quick)
assign (assign a drive letter for the partition so that you can access it normally in File Explorer)
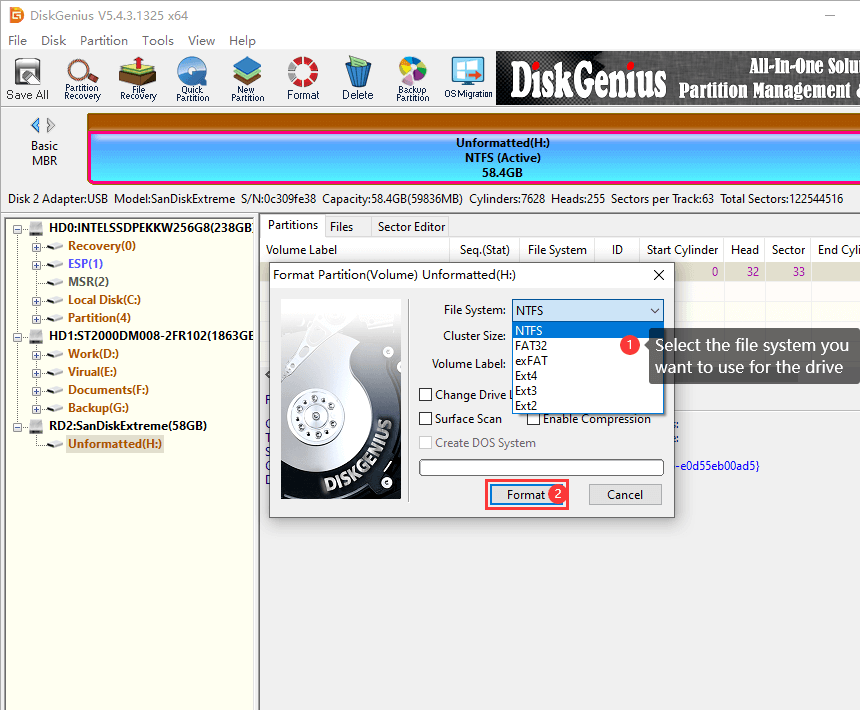
DiskGenius Free edition is free disk partition manager software and it can help you format drive to NTFS, exFAT, FAT32, EXT2, EXT3 and EXT4 file system in Windows 11/10/8/7/Vista/XP. Here is the step-by-step formatting process.
Step 1. Launch DiskGenius Free edition, right-click on the partition that cannot be formatted and choose Format Current Partition.
Also, you can select the partition that Disk Management cannot complete the formatting and click Format button from toolbar.

Step 2. Choose file system and click Format button.
In addition to select file system, you can also set cluster size, volume label, specify drive letter, whether to perform a surface scan, etc.
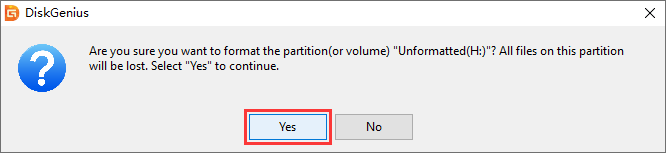
Step 3. Click Yes button when receiving following message, and DiskGenius starts formatting process at once.
When Disk Management cannot complete the format successfully, you can try wipe the entire disk to remove possible errors. DiskGenius Free edition provides the function to permanently wipe an entire partition or disk sector by sector. This function wipes data permanently and makes data unrecoverable.
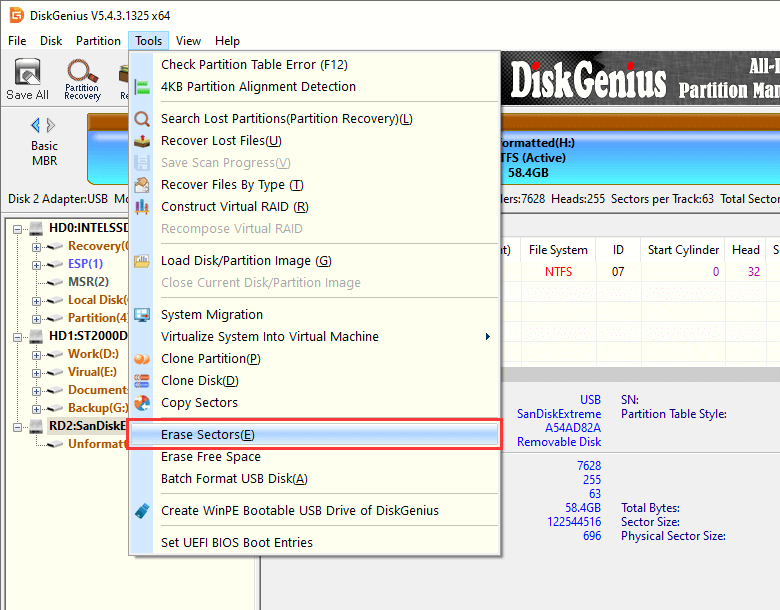
Step 1. After launching DiskGenius Free edition, select the drive causing the issue and click Tools > Erase Sectors.
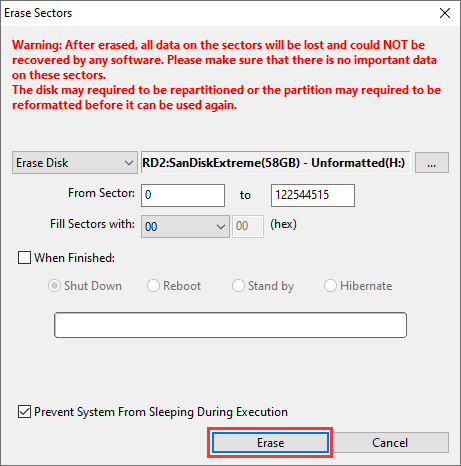
Step 2. Click Erase button to start the process.
Note: files wiped by this function cannot be recovered by any data recovery solutions, please make sure the disk/partition does not contain important data.
Bad sectors can affect formatting operation, for they do not response to any read or write actions. If your SD card, USB flash drive or external hard drive still cannot be formatted in Windows, you can have a check if the device has bad sectors using free disk partition software.
Step 1. Connect the disk Windows fails to format and launch DiskGenius Free edition.
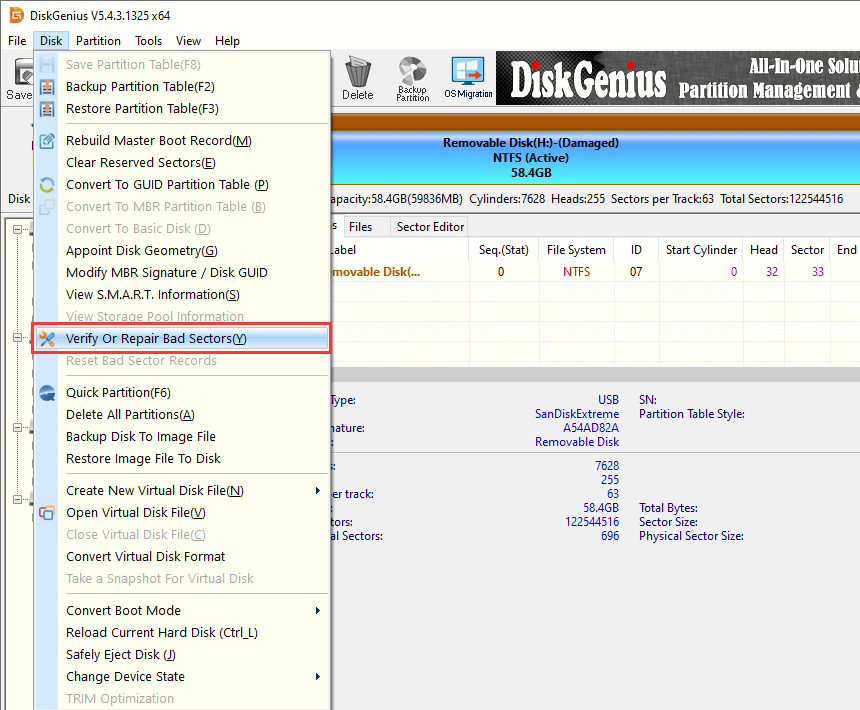
Step 2. Select the disk in DiskGenius, and click Disk > Verify Or Repair Bad Sectors option, as follows:
Step 3. Click Start Verify button and DiskGenius starts to scan the drive and look for if there are bad sectors.
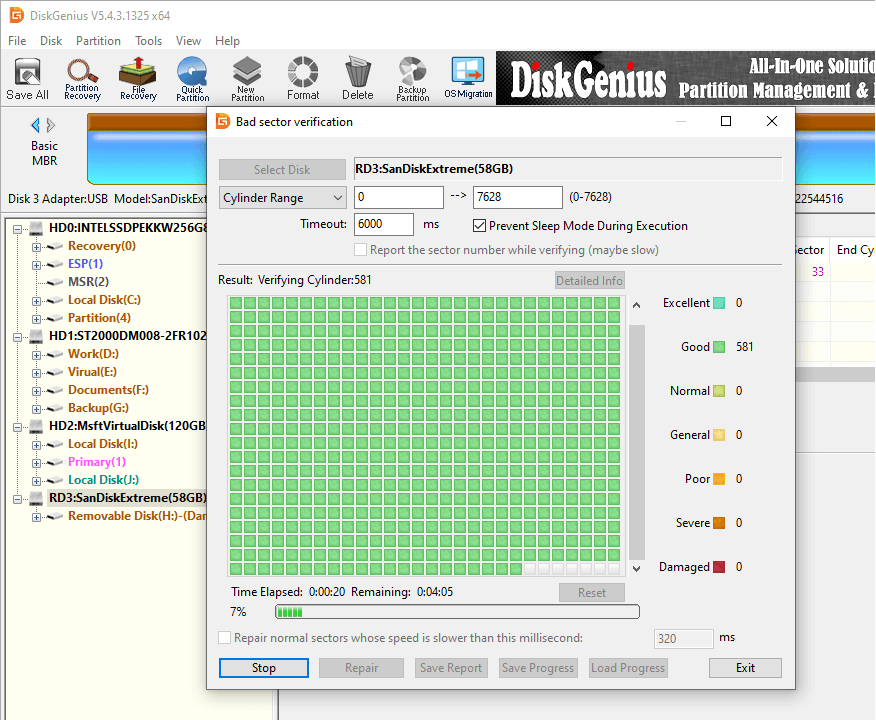
Step 4. Click Repair button if DiskGenius finds out bad sectors after scanning.
Note: There is not guarantee that all bad sectors can be repaired by software, for example physical bad sectors. It is recommended to give up the device if some bad sectors are not repairable.
Data recovery should be done in the fist place when the drive turns to RAW and Windows cannot format it successfully. If you do not have important data, you can skip to next part to view 5 effective methods of formatting the drive. The following steps show how to recover files and folders when formatting drive did not complete.
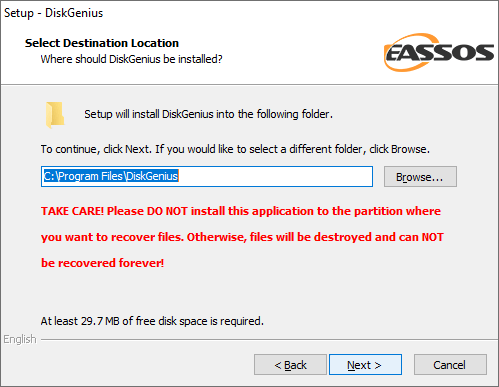
Step 1. Free download, install and launch DiskGenius on your computer.
By default, DiskGenius installs to partition C and you can change the path when necessary. Just remember do not install it to the drive from which you want to recover files.
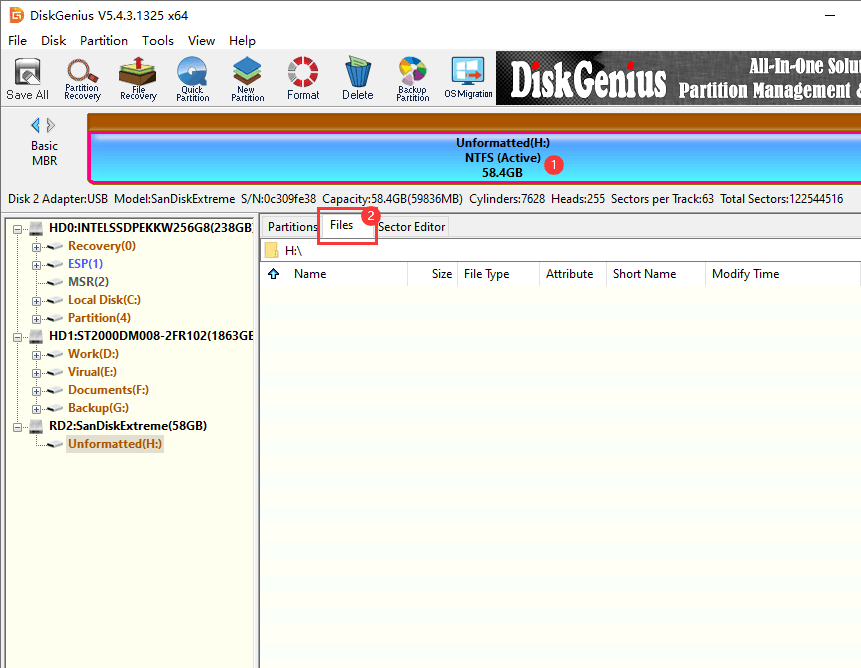
Step 2. Connect the drive to computer and make sure it can be detected by the software. Select the drive that won't format and click Files tab to check if files lost files are displayed in the software.
If your files can be listed just after launching the software, you can copy needed files to another drive to complete the recovery process.
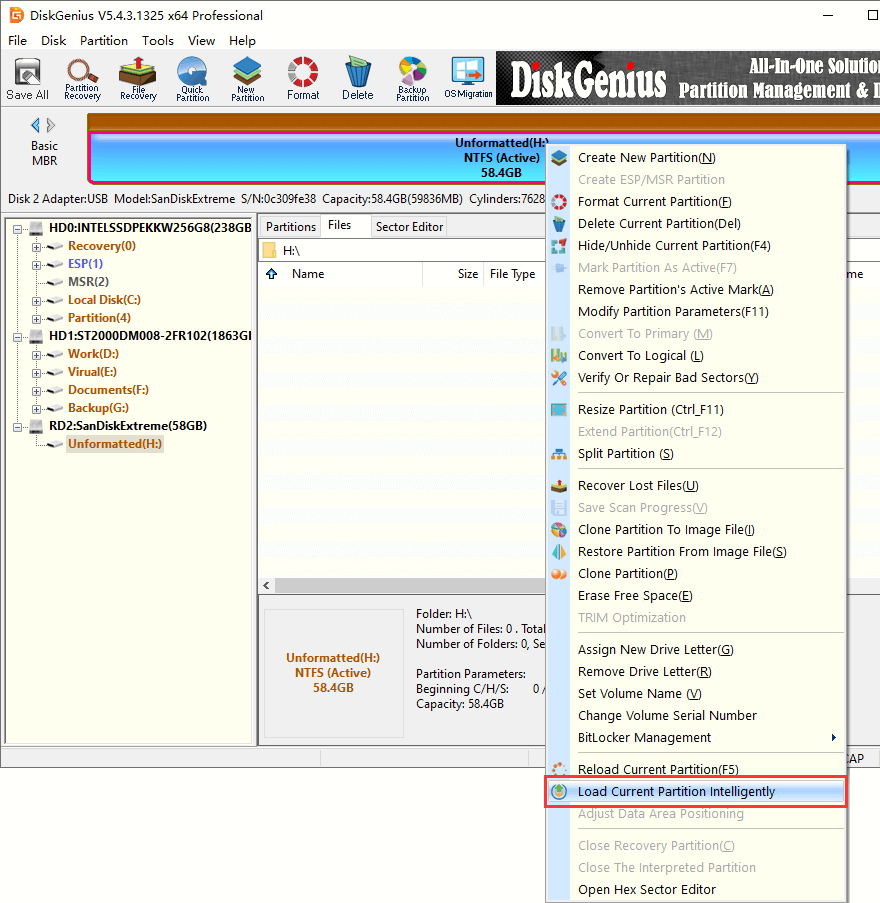
As to corrupted NTFS drive, you can also try Load Current Partition Intelligently to recover files. This function works effectively to retrieve files from RAW or corrupted NTFS partition.
Step 3. Right-click on the partition and click Recover Lost Files.
You can use Recover Lost Files to scan the drive if the step 2 cannot find out needed data.

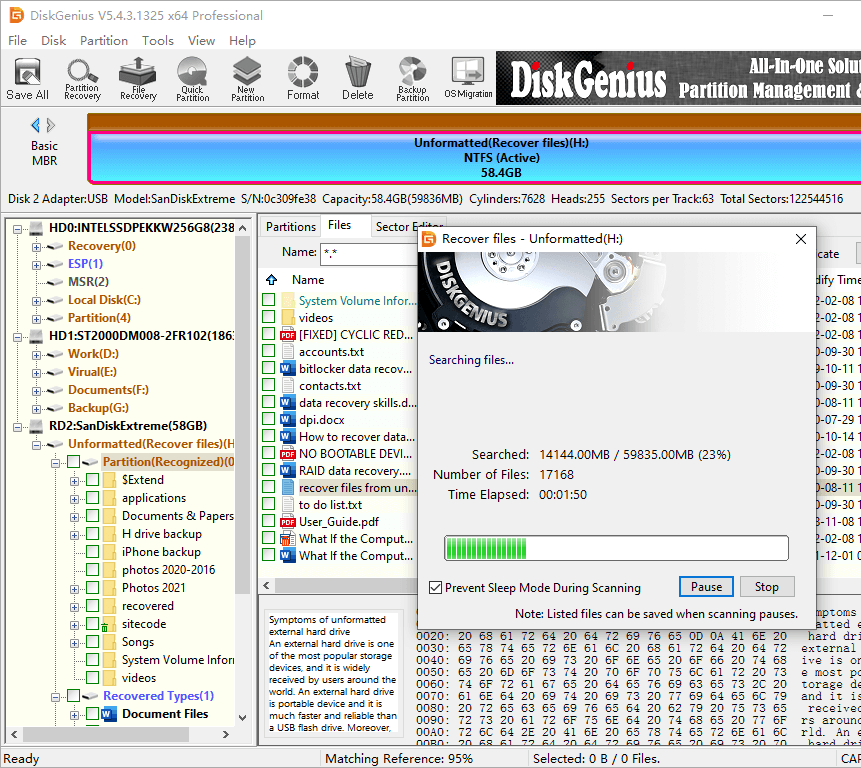
Step 4. Click Start button to scan the drive.

DiskGenius is scanning selected drive and it displays found files during scanning. You can either click Pause or Stop button once all lost files are found.
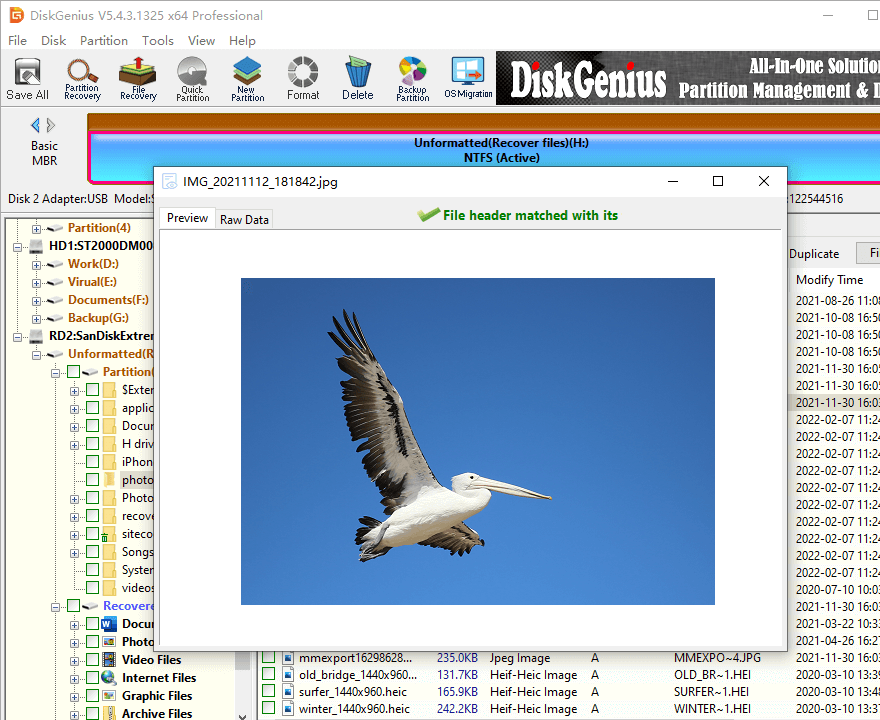
Step 5. Preview files listed in scanning result.
You can preview files to test if needed files can be recovered correctly: double-click a file and you can view actual file content.
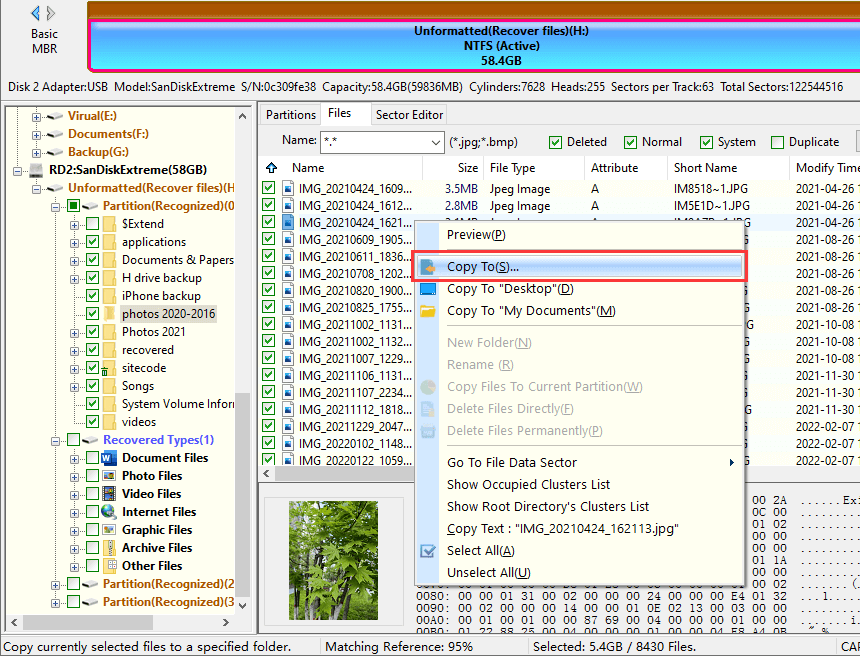
Step 6. Copy found files to a different drive.
Select needed files > right-click on selected data > choose Copy To > specify a path for recovered data > wait for file copy completes.
Now file copy completes, and you can click Open Folder button to open target folder and view recovered data.
In this article we discuss the error that DiskGenius cannot complete format, provide solutions to recover files from unformatted drive as well as explain how to remove this error. Remember that formatting removes all existing data in the drive, thus please create backups prior to formatting so as not to lose data. Generally, it is more important to retain crucial files than just fixing the error. Hence, again, it is suggested to create timely backups for important files. Please feel free to email us to let us know your doubts, reviews and questions.
DiskGenius - Reliable data recovery software to recover RAW drive, restore lost partitions, undelete files, etc.
ô Free Download Facebook
 YouTube
 X
X